Linux
08 March 2026
Senka's CachyOS Plasma KDE Setup
02 February 2026

Author
Senka WolfTable of Contents
- My CachyOS Setup
- Software
- Tweaks & Configs
- Visuals
My CachyOS Setup
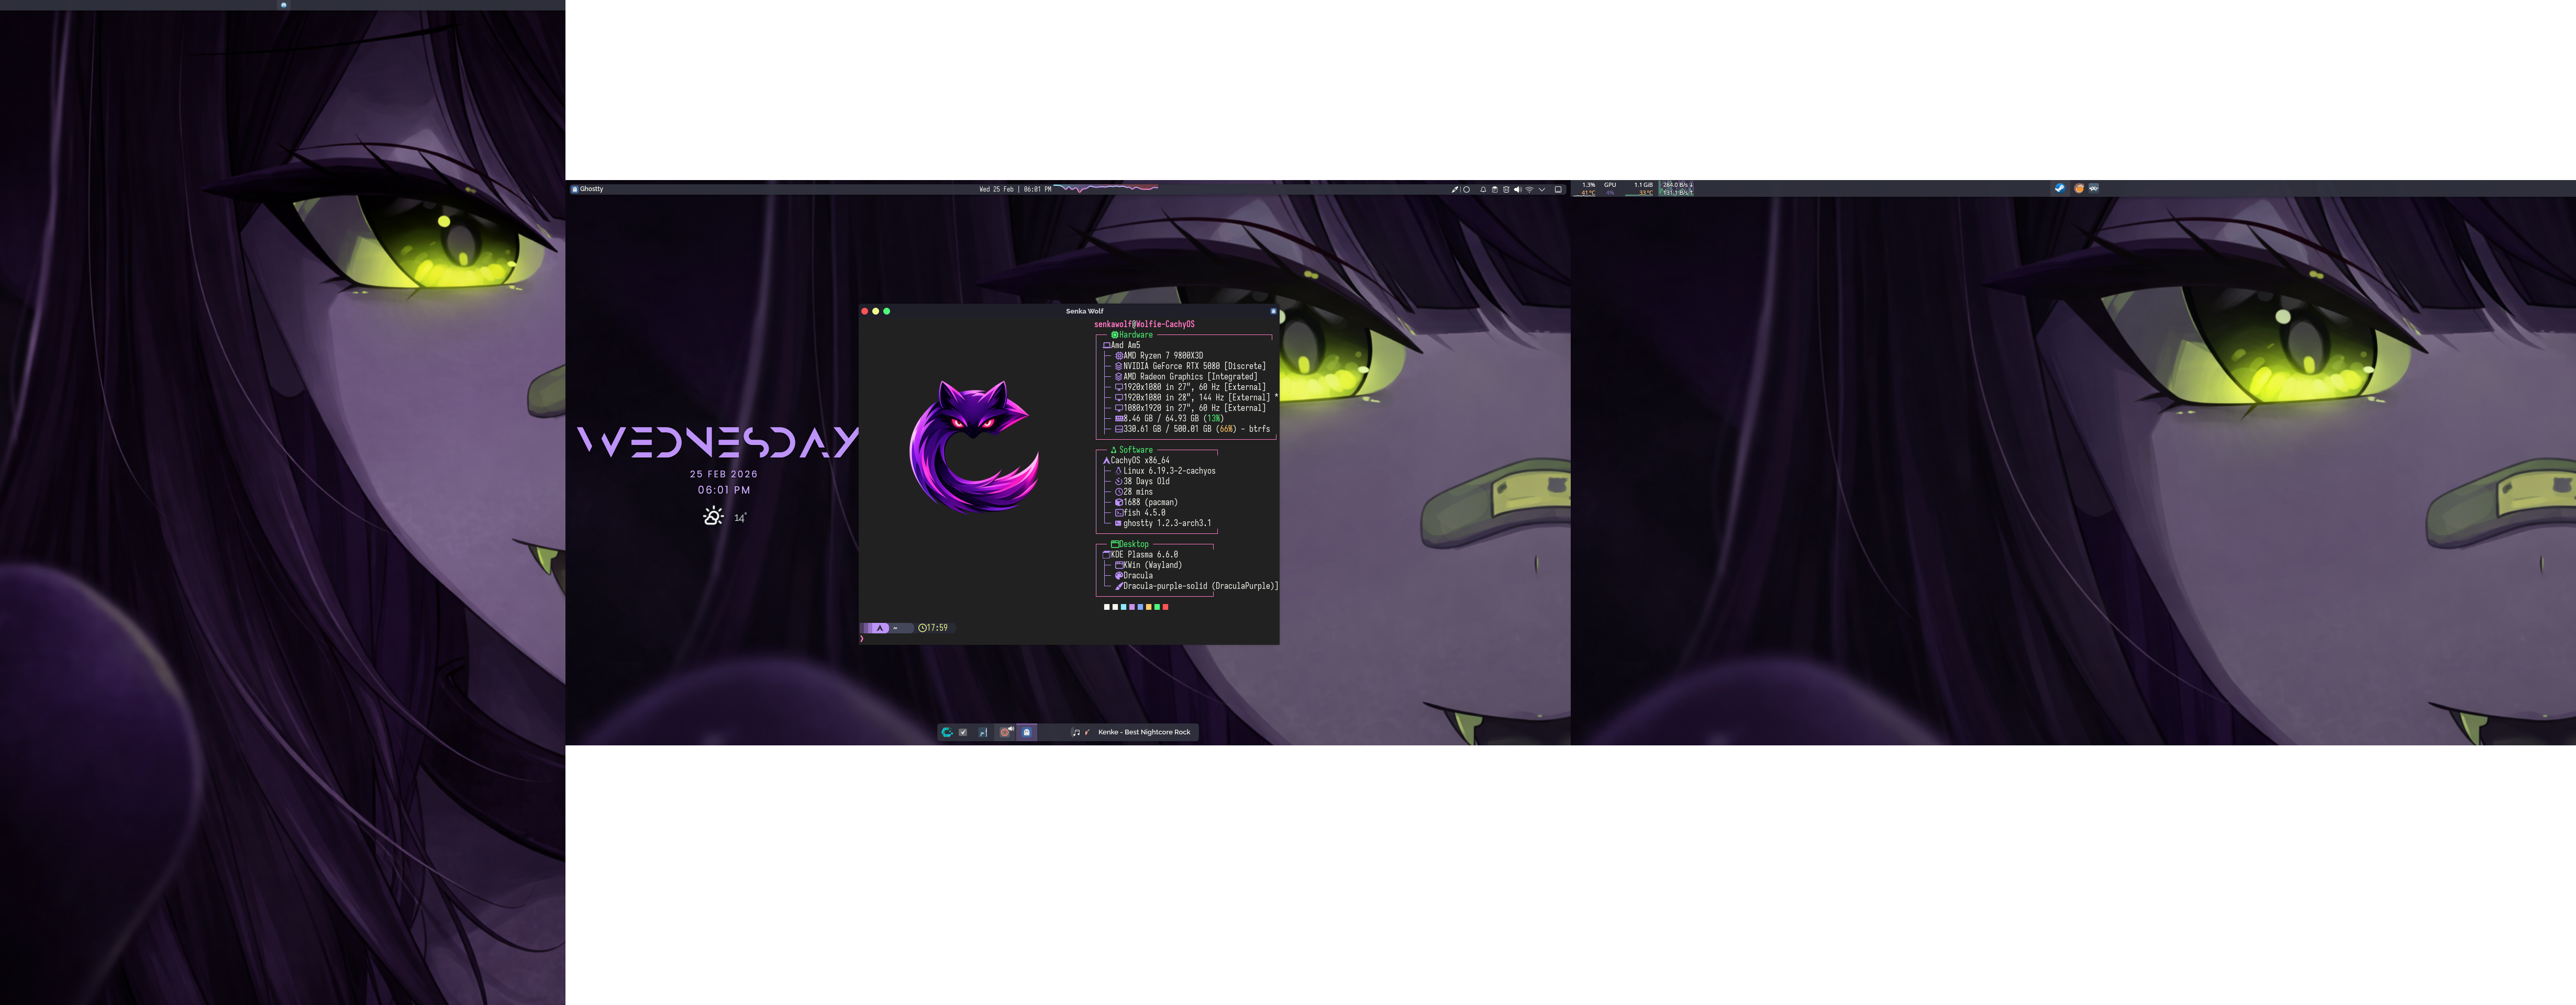
This is a list of all the packages I have installed on my system and changes I have made to my personal desktop.
Software
Run the following commands in each section using pacman:
- Firmware:
sudo pacman -Sy - Tools:
sudo pacman -Sy flatpak yay snapper snap-pac grub-btrfs os-prober irqbalance cachy-update zen-browser stow qbittorrent ghostty starship htop btop cpu-x gparted openrgb k3b cmatrix strace - Social:
sudo pacman -Sy discord - Creative:
sudo pacman -Sy obs-studio gpu-screen-recorder-ui krita - Office:
sudo pacman -Sy libreoffice-fresh mythes-en ttc-iosevka ttf-fira-sans ttf-fira-code ttf-firacode-nerd vlc ffmpeg - Gaming:
sudo pacman -Sy cachyos-gaming-meta cachyos-gaming-applications piper retroarch prismlauncher - Coding:
sudo pacman -Sy code git github-cli mysql-workbench filezilla ttf-font-awesome - Virtual Machine:
sudo pacman -Sy archlinux-keyring qemu-desktop virt-manager virt-viewer dnsmasq vde2 openbsd-netcat ebtables iptables-nft winboat - Visuals:
sudo pacman -Sy kvantum - Widgets (Plasmoids) Dependencies:
sudo pacman -Sy cava qt6-websockets python-websockets
If you'd like an explanation on the code above or what each package is go here.
Below aren't available through pacman so we will use AUR instead:
- Firmware:
yay -Syu - Tools:
yay -S ttf-raleway ungoogled-chromium-bin qdirstat-bin qdiskinfo-bin nordvpn-bin nordvpn-gui-bin rustdesk-bin wtf wtfutil-bin vicinae-bin peaclock solaar rclone-browser - Social:
yay -S vesktop fluxer-git - Gaming:
yay -S millennium bolt-launcher - Coding:
yay -S github-desktop-bin
Other Install Methods:
OpenDeck GitHub
$ paru --version
$ paru -S opendeck-bin
$ sudo usermod -aG uucp,input $USER #Appendix
$ sudo udevadm control --reload-rules
$ sudo udevadm trigger
Appendix: This is important due to streamdeck being a HID device.
- uucp → raw USB device access
- input → HID devices (Stream Deck is HID)
Note: You can use this method but I recommend the above.
$ bash -c 'bash <(curl -sSL https://raw.githubusercontent.com/nekename/OpenDeck/main/install_opendeck.sh)'Virtual Machine / Virtualisation Wiki
To install and start the services needed to use a VM run the below in your console:
$ sudo pacman -Syy #Update packages
$ sudo pacman -S archlinux-keyring #Update keyring
$ sudo pacman -S qemu-desktop virt-manager virt-viewer dnsmasq vde2 openbsd-netcat ebtables iptables-nft #Install needed packages
$ sudo systemctl enable libvirtd.service #Start libvirt service
$ sudo systemctl start libvirtd.service
$ systemctl status libvirtd.service #Check that the service is running
Now we need to allow low-level users to use the VM. Edit the /etc/libvirt/libvirtd.conf file by navigating to it in your file explorer or from the terminal:
$ sudo nano /etc/libvirt/libvirtd.confGo to line 85 and uncomment by removing the hashtag (#) from the beginning:
unix_sock_group = "libvirt"Then go to line 108 and uncomment by removing the hashtag (#) from the beginning:
unix_sock_rw_perms = "0770"Now we need to add our user to the libvirt group.
$ sudo usermod -a -G libvirt $(whoami)
$ sudo systemctl restart libvirtd.service #Restart libvirt daemon
Enable Nested Virtualization (Optional)
Nested Virtualization is the ability to run virtual machines inside virtual machines.
- Intel:
echo "options kvm-intel nested=1" | sudo tee /etc/modprobe.d/kvm-intel.conf - AMD:
echo "options kvm-amd nested=1" | sudo tee /etc/modprobe.d/kvm-amd.conf
Now you can run the virt-manager command to open the GUI virtual machine manager, or you can open it through your DE application menu.
Tweaks & Configs
CachyOS Update Config GitHub
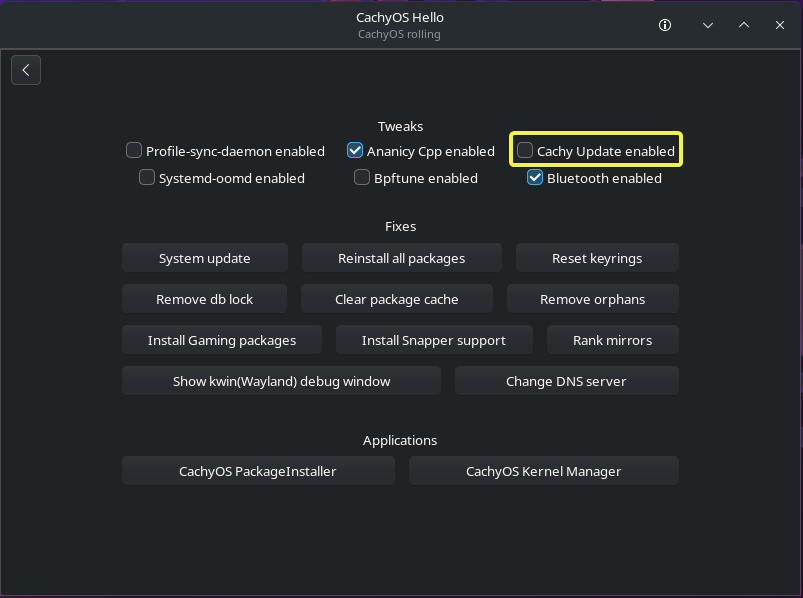
Once CachyOS Update is installed you should start it automatically at boot using the following command.
$ arch-update --tray --enableNote: If you have used the CachyOS Hello GUI and checked Cachy Update enabled you don't need to follow this setup.
Number Lock on startup Arch Wiki
Either run the below command or navigate to System Settings > Keyboard.
$ systemsettings kcm_keyboard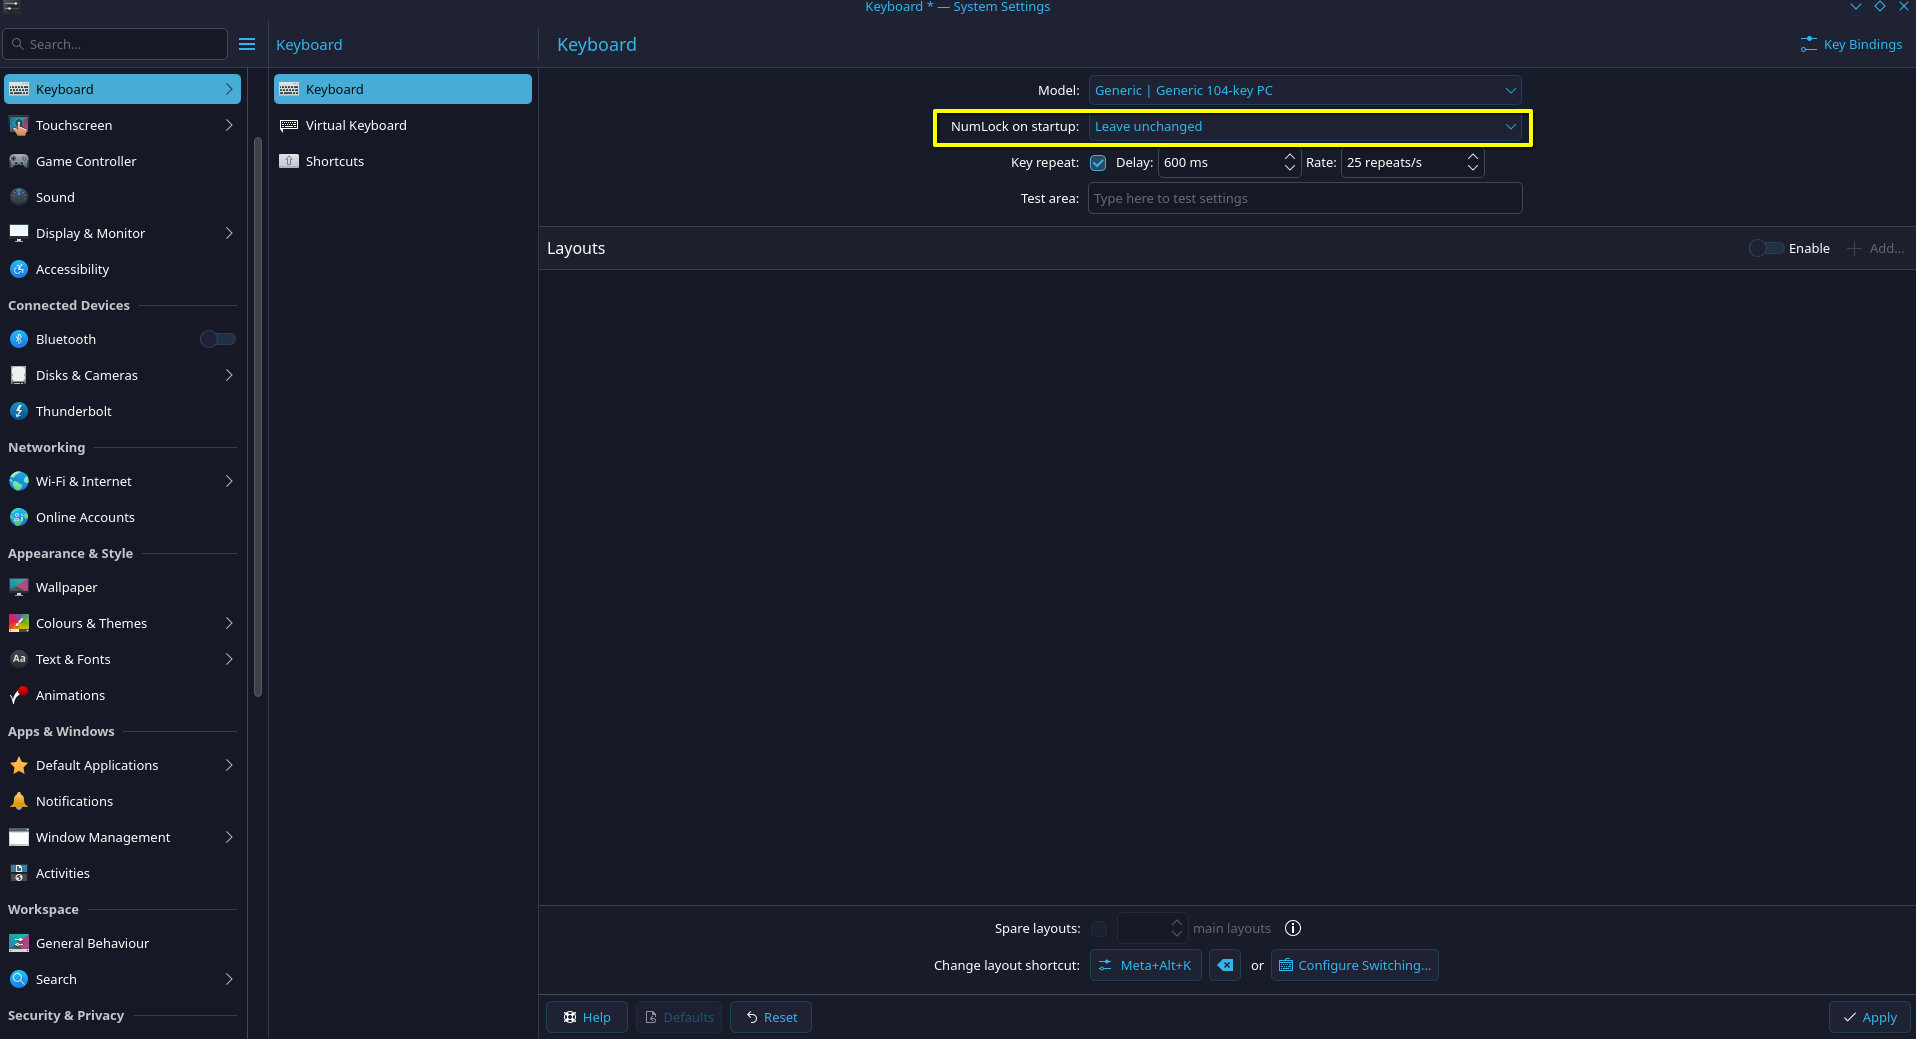
Then change NumLock on startup to Turn On.
Configure Fastfetch GitHub
In the ../files/fastfetch folder copy the config and the logo to ~/.config/fastfetch/. You might need to create the folder using fastfetch --gen-config or just mkdir.
Starship Configuration Website
Starship is a customizable prompt for a shell environment in a terminal.
To get started open your terminal and do the following:
$ sudo pacman -Sy starship #Install starship
$ mkdir -p ~/.config && touch ~/.config/starship.toml #Create config file.
$ nano ~/.config/starship.toml #Edit File
Copy the content from the .toml file found in the Tokyo Night Preset and save the changes.
CachyOS default shell is fish so to add starship to the shell, edit the following file and add starship init fish | source to the end of the file.
$ nano ~/.config/fish/config.fishNow simply close and reopen your terminal to see the changes.
GitHub CLI Setup Manual
Run the command:
$ gh auth login #Then authenticate using your browser.After authenticating configure the following:
$ git config --global user.email "senkawolf@example.com"
$ git config --global user.name "SenkaWolf"
$ git config --global init.defaultBranch main
fish shell Configuration Website
Fish, or the Friendly Interactive Shell, is a user-friendly command line shell for Unix-like operating systems which comes preconfigured with CachyOS by default. However fish is very configurable and you can streamline many processes by creating functions and aliases.
To edit the fish shell config you can go to ~/.config/fish/ in your file explorer or use nano ~/.config/fish/config.fish. Within the config file CachyOS references the file /usr/share/cachyos-fish-config/cachyos-config.fish which is their take on additional tweaks for the shell, I recommend keeping them as they are additions I would have added myself.
To add an alias to fish simply open the ~/.config/fish/config.fish from there add a new line using the format of where anything inside [] you replace to suit your needs alias [alias name]="[command]". Below are some examples in my config:
$ alias update="sudo pacman -Syu" #Update system
$ alias rnm "sudo systemctl restart NetworkManager" #restart network
$ alias pip="curl -s ifconfig.me" #Public IP
Using the last alias to breakdown if I type pip into my terminal it will give me my public IP address and simulates as if I typed out curl -s ifconfig.me.
Now we will make a function and these can use arguments and complex logic to do more complex tasks. Follow the steps below:
$ touch ~/.config/fish/functions/[command].fish #Make a file in this directory, name it something which suits the commands use
$ nano ~/.config/fish/functions/[command].fish #Edit the file
Within the file you need to set the file up like so:
$ function [command name]
$ #commands or code here
$ end
Below is an example where I have a git repo in a folder called dotfiles in my home directory. I use this with a symlink to backup my config files, you can learn more about this setup in the Managing Dotfiles section. The below function when I run dotpush [commit message] it cds into the dotfiles directory and goes through the git process to push the changes to GitHub.
$ function dotpush
$    # Ensure we're in the dotfiles directory
$    cd ~/dotfiles; or begin
$        echo "Failed to cd into ~/dotfiles"
$        return 1
$    end
$
$    if test (count $argv) -eq 0
$        echo "Please provide a commit message."
$        echo "Usage: dotpush \"Your commit message\""
$        return 1
$    end
$
$    set msg $argv
$
$    echo "==> Running git status"
$    git status; or return 1
$
$    echo "\n==> Running git add --all"
$    git add --all; or return 1
$
$    echo "\n==> Running git commit"
$    git commit -m "$msg"; or return 1
$
$    echo "\n==> Running git push"
$    git push; or return 1
$
$    echo "\nAll done."
$ end
Uncomplicated Firewall (Ufw) Configuration Wiki
To allow certain programs to work you will need to open the below ports on the firewall:
$ sudo ufw allow 1714:1764/udp #KDE Connect
$ sudo ufw allow 1714:1764/tcp #KDE Connect
$ sudo ufw allow 53317/udp #LocalSend
$ sudo ufw allow 53317/tcp #LocalSend
$
$ sudo ufw reload #Run this after using any of the above.
Login Screen (SDDM) on Multi Monitors Setup Config Wiki
If you have a multi monitor setup, you may find that at the login screen your cursor starts on a monitor other than your primary one, or that a rotated display shows incorrectly at the login screen but is corrected once logged in. Follow the steps below to fix this.
You can edit the SDDM config to display the correct rotation and change the priority of which monitor should be the primary when met with the login screen.
You can edit the file /var/lib/sddm/.config/kwinoutputconfig.json but to assist in editing this as it may not be clear which monitor is which you can use your local display configuration settings from the file ~/.config/kwinoutputconfig.json. Use the reference from edidHash to compare the settings across the files.
Wrong Rotation
- Find the edidHash e.g.
"edidHash": "ea0ebe39eb825dc64a3f770bc8b95bd1", - Look for the setting transform to get the correct orientation
"transform": "Rotated90", - Copy this across from the local display settings to the SDDM file.
        "data": [
            {
                "allowDdcCi": true,
                "allowSdrSoftwareBrightness": true,
                "autoRotation": "InTabletMode",
                "brightness": 1,
                "colorPowerTradeoff": "PreferEfficiency",
                "colorProfileSource": "sRGB",
                "connectorName": "HDMI-A-2",
                "detectedDdcCi": false,
                "edidHash": "ea0ebe39eb825dc64a3f770bc8b95bd1",
                "edidIdentifier": "ACR 714 1669380668 38 2016 0",
                "edrPolicy": "always",
                "highDynamicRange": false,
                "iccProfilePath": "",
                "maxBitsPerColor": 0,
                "mode": {
                    "height": 1080,
                    "refreshRate": 60000,
                    "width": 1920
                },
                "overscan": 0,
                "rgbRange": "Automatic",
                "scale": 1,
                "sdrBrightness": 200,
                "sdrGamutWideness": 0,
                "transform": "Rotated90",
                "uuid": "4aa0e7f9-f720-4ae9-ad08-c45589802f61",
                "vrrPolicy": "Never",
                "wideColorGamut": false
            },
        ],
Wrong Primary
Go towards the bottom of the config file and you will see the below section, everything grouped between the sets of {} brackets are the monitors and they go in the same order to the monitors in the section previously. All you need to do is change the priority starting from 0 upwards in the order you want them to be.
Note: If you want to disable the monitor so it's just blank at the login screen simply change enabled to false.
        "data": [
            {
                "lidClosed": false,
                "outputs": [
                    {
                        "enabled": true,
                        "outputIndex": 0,
                        "position": {
                            "x": 0,
                            "y": 0
                        },
                        "priority": 2,
                        "replicationSource": ""
                    },
                    {
                        "enabled": true,
                        "outputIndex": 1,
                        "position": {
                            "x": 1920,
                            "y": 0
                        },
                        "priority": 0,
                        "replicationSource": ""
                    },
                    {
                        "enabled": true,
                        "outputIndex": 2,
                        "position": {
                            "x": 3840,
                            "y": 0
                        },
                        "priority": 1,
                        "replicationSource": ""
                    }
                ]
            }
        ],
Source: https://www.reddit.com/r/archlinux/comments/143b6we/how_to_display_login_screen_sddm_on_a_single/
Ungoogled Chromium How to install Extensions
Use this tool: https://www.ungoogledextensions.com/
Visuals
Plasma Theme Arch Wiki
Find a theme you like from here. I like Ant-Dracula KDE so I will use this.
Download the file then extract/unzip the file and ensure it follows the below layout:
📦 Dracula/
    ├── metadata.desktop
    ├── colors
    ├── dialogs/
    │   └── background.svgz
    ├── icons/
    │   ├── applications.svg
    │   ├── bookmarks.svg
    │   ├── computer.svg
    │   ├── system.svg
    │   └── view.svg
    └── widgets/
If this looks correct then run the following commands to move the file and open system settings:
$ mv ~/Downloads/Dracula ~/.local/share/plasma/desktoptheme/
$ systemsettings
Then navigate to Colours & Themes > Plasma Style and then select the one you just installed.
Custom Plasma Color Schemes Arch Wiki
Find a color scheme you like from here. I like Ant-Dracula KDE so I will use this.
Download the file and ensure it follows the below layout:
📦 Dracula/
    ├── Dracula.colors
    └── DraculaPurple.colors
If this looks correct then run the following commands to move the files and open system settings:
$ mv ~/Downloads/Dracula/*.colors ~/.local/share/color-schemes/
$ systemsettings
Then navigate to Colours & Themes > Colours and then select the one you just installed.
Custom Window Decorations Aurorae Arch Wiki
Find a window decoration you like from here. I like Ant-Dracula KDE so I will use this.
Download the file then extract/unzip the file and ensure it follows the below layout:
📦 Dracula/
    ├── .shade.svg
    ├── alldesktops.svg
    ├── close.svg
    ├── decoration.svg
    ├── keepabove.svg
    ├── keepbelow.svg
    ├── maximize.svg
    ├── metadata.desktop
    ├── minimize.svg
    ├── restore.svg
    └── Dracularc
If this looks correct then run the following commands to move the file and open system settings:
$ mv ~/Downloads/Dracula ~/.local/share/aurorae/themes/
$ systemsettings
Then navigate to Colours & Themes > Window Decorations and then select the one you just installed.
Additional Window Decorations
Under Colours & Themes > Window Decorations there are more settings you can adjust to change the look and feel of the windows.
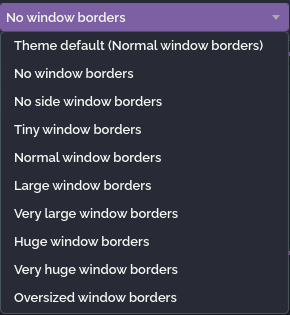
There is a dropdown in the top middle of the screen you can pick how thick/thin you want the borders to be or can go with no borders. I like to go with the No window borders.
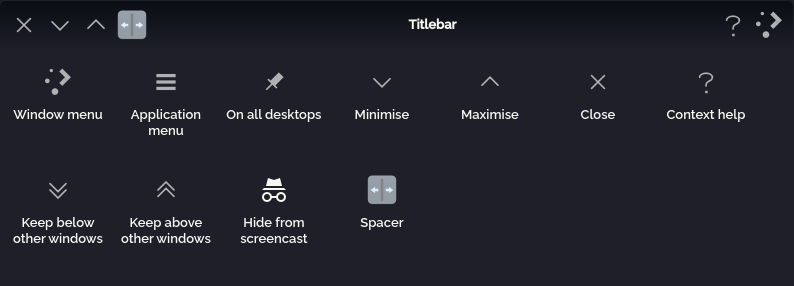
To the right of the above dropdown there is the Configure Titlebar Buttons... button where you can change which buttons are displayed and the locations of them on the window. I like to swap the buttons around to give a more mac style setup.
Custom Application Style Arch Wiki
For this it is recommended to use the program Kvantum which allows you to fully customise your application style and install custom ones as well. As a disclaimer Kvantum is only maintained on the Github page and the KDE Store version is outdated!
$ sudo pacman -Sy kvantumFind an application style you like from here. I like Ant-Dracula KDE so I will use this and download the Dracula-purple-solid version.
- Extract the downloaded files.
- Search for Kvantum Manager from your start menu and open the application.
- In the Install/Update Theme section navigate to the extracted files and select the folder.
- Then go to Change/Delete Theme and pick the theme you just installed in my case Dracula-purple-solid then click Use this theme.
- Close Kvantum Manager.
- Finally navigate to your System Settings > Colours & Themes > Application Style and then select kvantum-dark and apply.
Icon Theme Arch Wiki
Find an icon pack you like from here. I like Slot Nord Dark Colorize Icons so I will use this.
Download the file then extract/unzip the file and ensure it follows the below layout:
📦 Slot-Nord-Dark-Colorize-Icons
├─ Multiple folders
└─ index.theme
If this looks correct then run the following commands to move the file and open system settings:
$ mv ~/Downloads/Slot-Nord-Dark-Colorize-Icons ~/.local/share/icons/
$ systemsettings
Then navigate to Colours & Themes > Icons and then select the one you just installed.
Cursor Theme Arch Wiki
Find a cursor pack you like from here. I like Future-dark cursors so I will use this.
Download the file then extract/unzip the file and ensure it follows the below layout:
📦 Future-dark-cursors
├─ cursors
└─ index.theme
If this looks correct then run the following commands to move the file and open system settings:
$ mv ~/Downloads/Future-dark-cursors ~/.local/share/icons/
$ systemsettings
Then navigate to Colours & Themes > Cursors and then select the one you just installed.
Custom Splashscreen Arch Wiki
Find a splashscreen you like from here. I like to disable this but I will give instructions on how to install one as I used to run the Magna Splash 6.
Download the file then extract/unzip the file and ensure it follows the below layout:
📦 Magna-Splash-6
├─ contents
└─ metadata.json
If this looks correct then run the following commands to move the file and open system settings:
$ mv ~/Downloads/Magna-Splash-6 ~/.local/share/plasma/look-and-feel/
$ systemsettings
Then navigate to Colours & Themes > Splash Screen and then select the one you just installed or in my case I like to select none.
The splashscreen is the only customisation where you cannot edit the background image from the settings. So, if you want to edit the background image, go to the location below (remember to put your splashscreen name) and swap in a different image, ensuring it has the same name and file type as the original.
$ cd ~/.local/share/plasma/look-and-feel/Magna-Splash-6/contents/splash/images
$ dolphin .
SDDM Login Themes Arch Wiki
Find an SDDM theme you like from here. I like Azure-SDDM-6 so I will use this.
Download the file then extract/unzip the file and ensure it follows the below layout:
📦 Azure-SDDM-6
├─ folders
├─ Main.qml
├─ metadata.desktop
└─ theme.conf
If this looks correct then run the following commands to move the file and open system settings:
$ sudo mv ~/Downloads/Azure-SDDM-6 /usr/share/sddm/themes/
$ systemsettings
Then navigate to Colours & Themes > Login Screen (SDDM) and then select the one you just installed.
Custom Fonts Arch Wiki
I like using the fonts iosevka and raleway and we installed these earlier in the Software section so now they just need setting up.
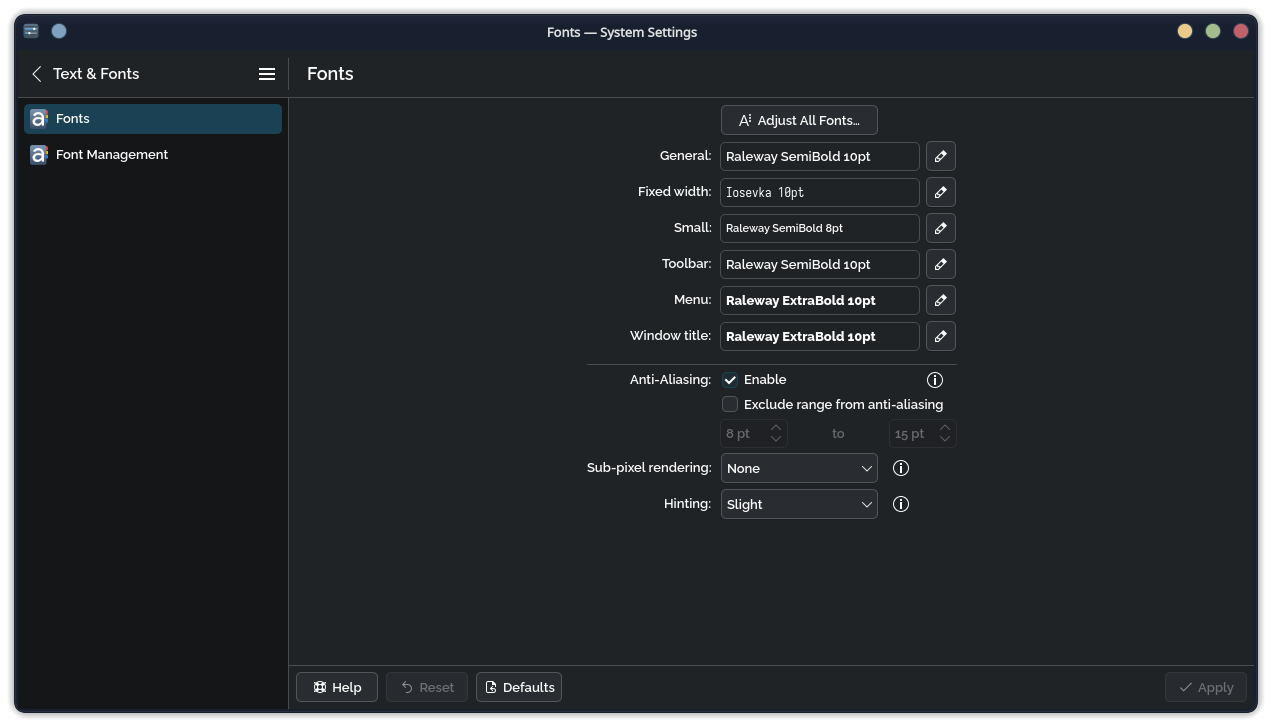
Go to System Settings > Text & Fonts > Fonts and change them to suit your preferences, mine are as follows:
- General: Raleway SemiBold 10pt
- Fixed width: Iosevka 10pt
- Small: Raleway SemiBold 8pt
- Toolbar: Raleway SemiBold 10pt
- Menu: Raleway ExtraBold 10pt
- Window title: Raleway ExtraBold 10pt
Custom Sounds
Find any custom sounds you like from here. I like MacOS System Sounds so I will use this.
Download the file then extract/unzip the file and ensure it follows the below layout:
📦 MacOS Sounds/
    ├── index.theme
    └── stereo/
        ├── dialog-information.ogg
        ├── message-new-email.ogg
        ├── dialog-error.ogg
        ├── button-toggle-off.ogg
        ├── button-toggle-on.ogg
        ├── dialog-warning.ogg
        ├── phone-outgoing-calling.ogg
        ├── trash-empty.ogg
        ├── phone-outgoing-busy.ogg
        ├── message.ogg
        ├── device-ready.ogg
        ├── message-new-instant.ogg
        ├── desktop-login.ogg
        ├── device-removed.ogg
        ├── phone-incoming-call.ogg
        ├── screen-capture.ogg
        ├── power-unplug.ogg
        ├── bell.ogg
        ├── complete.ogg
        ├── count-down.ogg
        ├── camera-shutter.ogg
        ├── power-plug.ogg
        ├── battery-low.ogg
        ├── dialog-question.ogg
        ├── audio-volume-change.ogg
        ├── message-sent-instant.ogg
        └── device-added.ogg
If this looks correct then run the following commands to move the file and open system settings:
$ mkdir -p ~/.local/share/sounds #Make the directory
$ sudo mv ~/Downloads/"MacOS Sounds" ~/.local/share/sounds/
$ systemsettings
Then navigate to Colours & Themes > System Sounds and then select the one you just installed.
Plasma 6 Extensions Widgets (Plasmoids) Arch Wiki
Find any Plasma 6 extensions you like from here.
I'm going to download the below files:
- KDE Modern Clock
- Kurve - Audio Visualizer
sudo pacman -Syu cava qt6-websockets python-websockets - plasmusic-toolbar
- Resources monitor
- ToDo-List
- Weather Widget Plus
- Window Title Applet 6
Option 1 If the files are compressed in a zip/tar.gz folder extract them and then open the terminal and cd to the extracted files or right click the folder and open the terminal:
$ cd ~/Downloads/<widget directory> #Replace <widget directory> with the extracted folder name
$ kpackagetool6 --type Plasma/Applet --install .
$ # Then log out and back in again. Restarting plasmashell in the terminal isn't very reliable.
If you get an error saying it already exists or you are trying to update it then run the below:
$ cd ~/Downloads/<widget directory> #Replace <widget directory> with the extracted folder name
$ kpackagetool6 --type Plasma/Applet --upgrade .
Option 2 If it is a .plasmoid file then simply use the below command. Trying to use the above will give an error if you have other files in the folder with it.
$ cd ~/Downloads/
$ kpackagetool6 --type=Plasma/Applet --install <downloaded-widget>.plasmoid #Replace <downloaded-widget> with the file name
$ # Then log out and back in again. Restarting plasmashell in the terminal isn't very reliable.
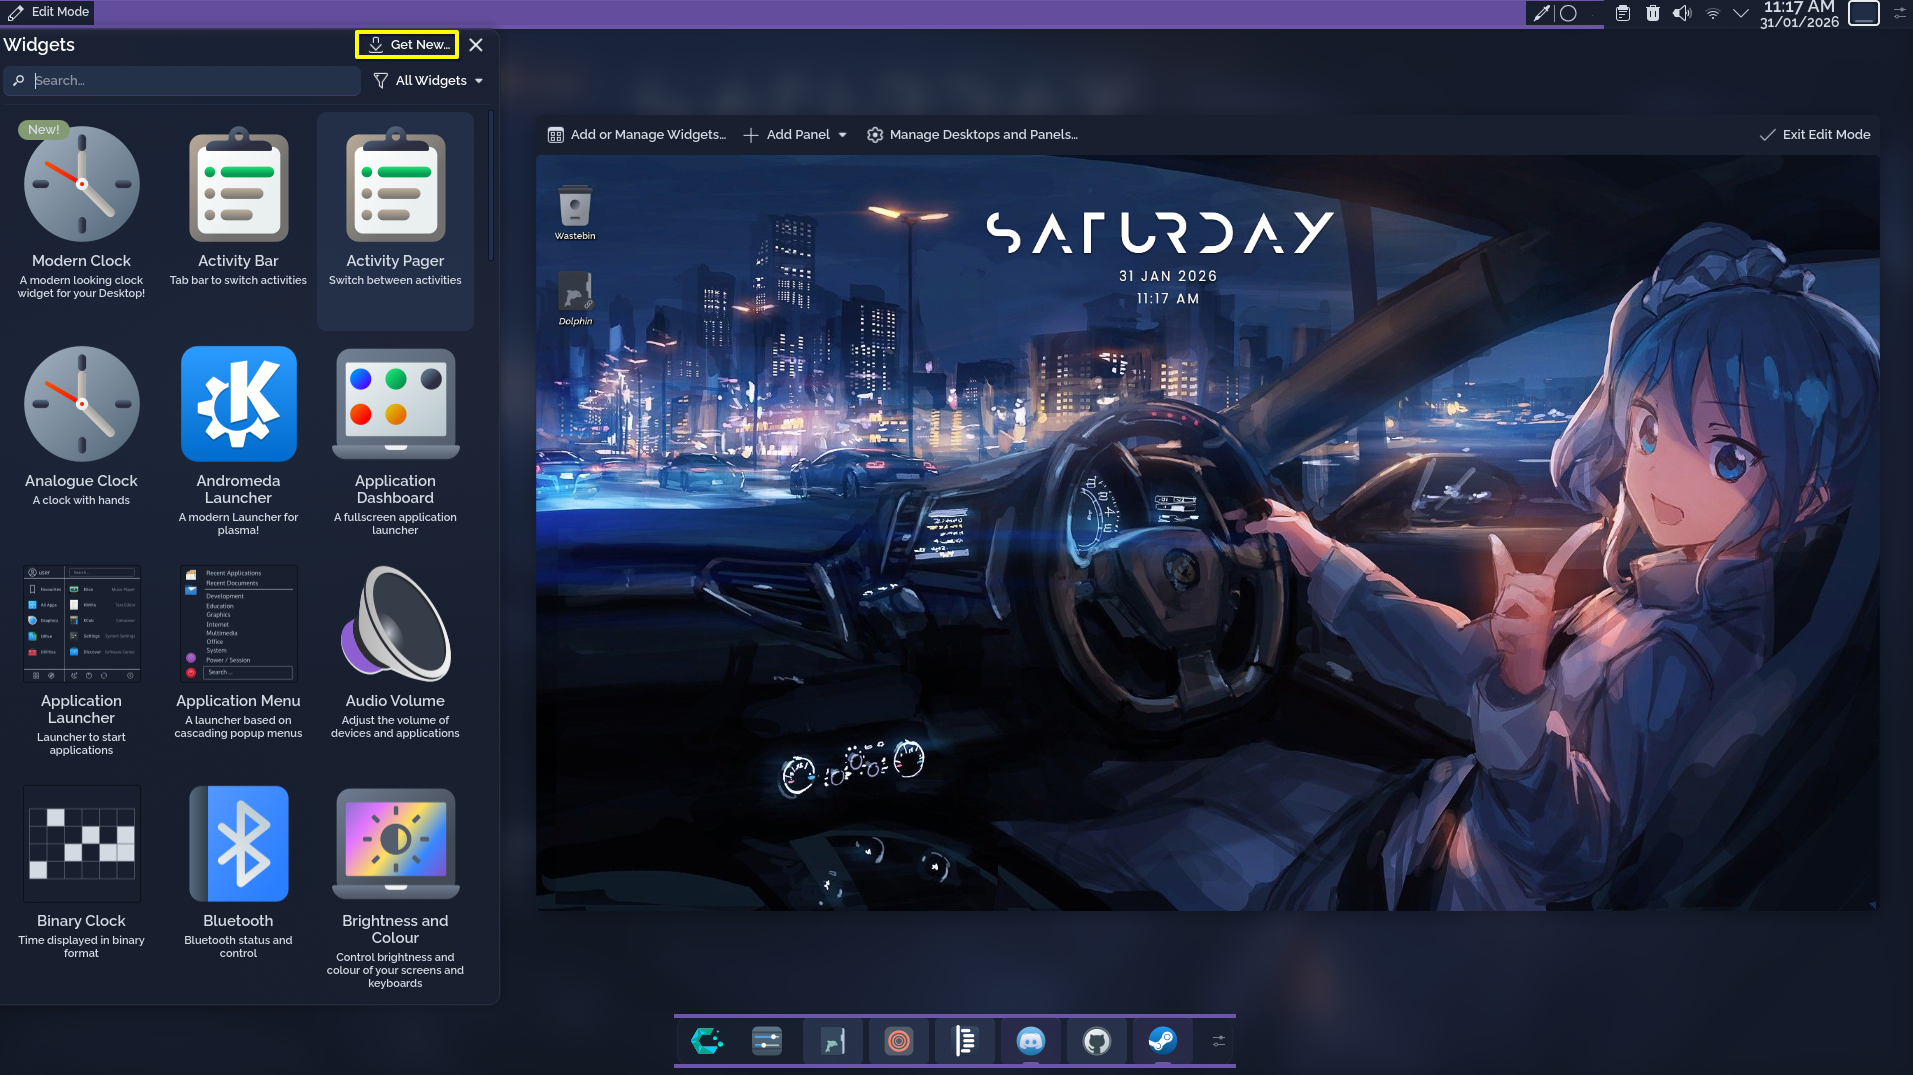
Option 3 Some are available by right clicking your panel and click Add or Manage Widgets then press Get New as shown in the below screenshot. You can then search for the widget name but some are only available from the KDE Store.
Widgets (Plasmoids) Customisation
Some Widgets (Plasmoids) offer some customisation in their settings and some don't. In this section I will list how I've done some workarounds to tweak things to my liking.
ToDo-List By Marc
I don't like the icon used by this widget as it doesn't match my panels style so I will swap it out for something else.
- Go to
~/.local/share/plasma/plasmoids/de.marc.todo/. - Edit the
metadata.jsonfile. - Change
"Icon": "view-task",→"Icon": "todo-indicator", - Then log out and back in again. Restarting plasmashell in the terminal isn't very reliable.
GRUB Theme Arch Wiki
Find any GRUB theme you like from here. I like CyberGRUB-2077 so I will use this.
Most GRUB themes will come with an install script using either a .sh or .fish script. It is recommended to use fish where possible. Follow these steps provided and that will install the theme.
You can manually install themes as well.
Caution: Some theme pages recommend using GRUB Customizer, I do not. It changes your GRUB config files and can make it difficult to apply tweaks or changes.
-
Download the theme files and copy them into
/boot/grub/themes. You may need to change the folder owner to access it:$ sudo chown $USER /boot/grub/themes -
Next, tell GRUB to use the theme. Open the GRUB config file located at
/etc/default/grub(root permissions required):$ sudoedit /etc/default/grub - Find the
GRUB_THEME=line and set it to the path of the theme’stheme.txtfile. While you’re there, set your desired resolution by uncommenting and editing theGRUB_GFXMODE=line. -
Save the file, then apply the changes by running:
$ sudo update-grub
You’ll need to run this command any time you modify GRUB’s configuration.
Animations/Desktop Effects
Go to System Settings > Apps & Windows > Window Management > Desktop Effects.
Then change the following defaults:
- Blur
- Blur strength - Light (Far left)
- Noise strength - Light (Far left)
- Translucency
- Inactive windows - 100%
- Moving windows - 80%
- Dialogues - 100%
- Combobox popups - 100%
- Menus - 100%
- Wobbly Windows
- Wobbliness - Less (Far left)
Now we want to get some custom effects, go to Get New... in the top right and install:
- Geometry Change - Animation for windows moved or resized by programs or scripts.
- Change the duration to 400 milliseconds
KWin Scripts
Go to System Settings > Apps & Windows > Window Management > KWin Scripts.
Now we want to get some custom scripts, go to Get New... in the top right and install:
- Krohnkite - Dynamic tiling extension for KWin6
- Layouts Tab
- Tile Layout Order: 4
- Spiral Layout Order: 1
- Geometry Tab
- Between tiles: 4px
- Layouts Tab
My Desktop Layout
To Be Completed.
I did use this YouTube Video to help me figure out sizing for my primary monitor.
Related Articles
All guides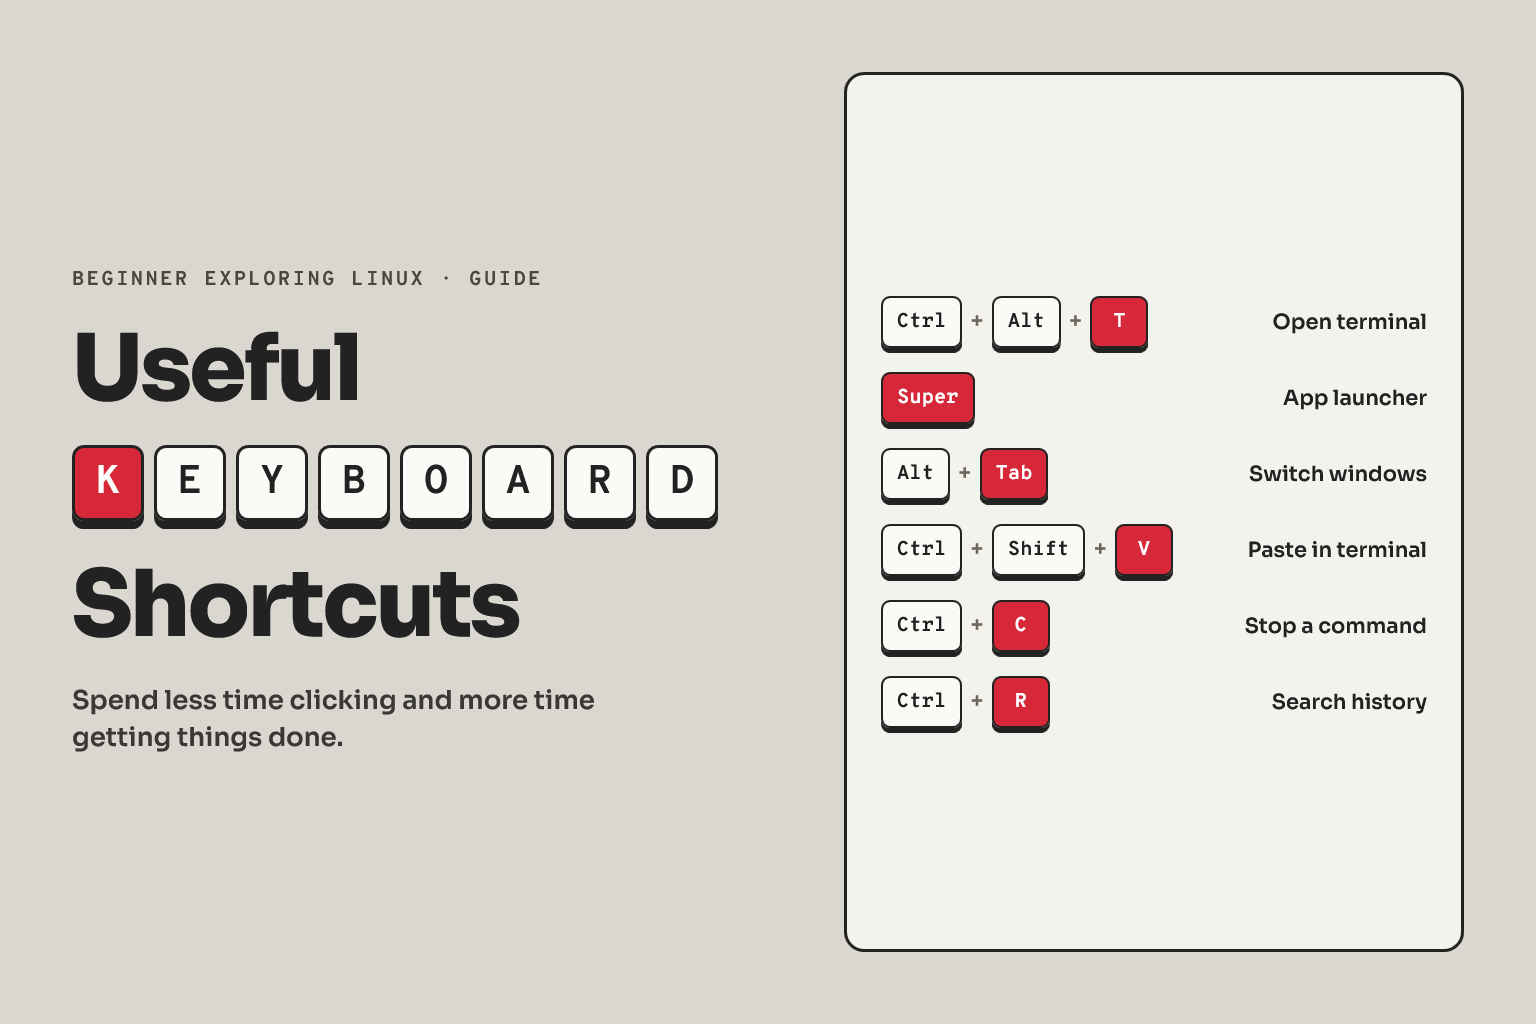
Linux
04 February 2026
Useful Keyboard Shortcuts
Linux
02 February 2026
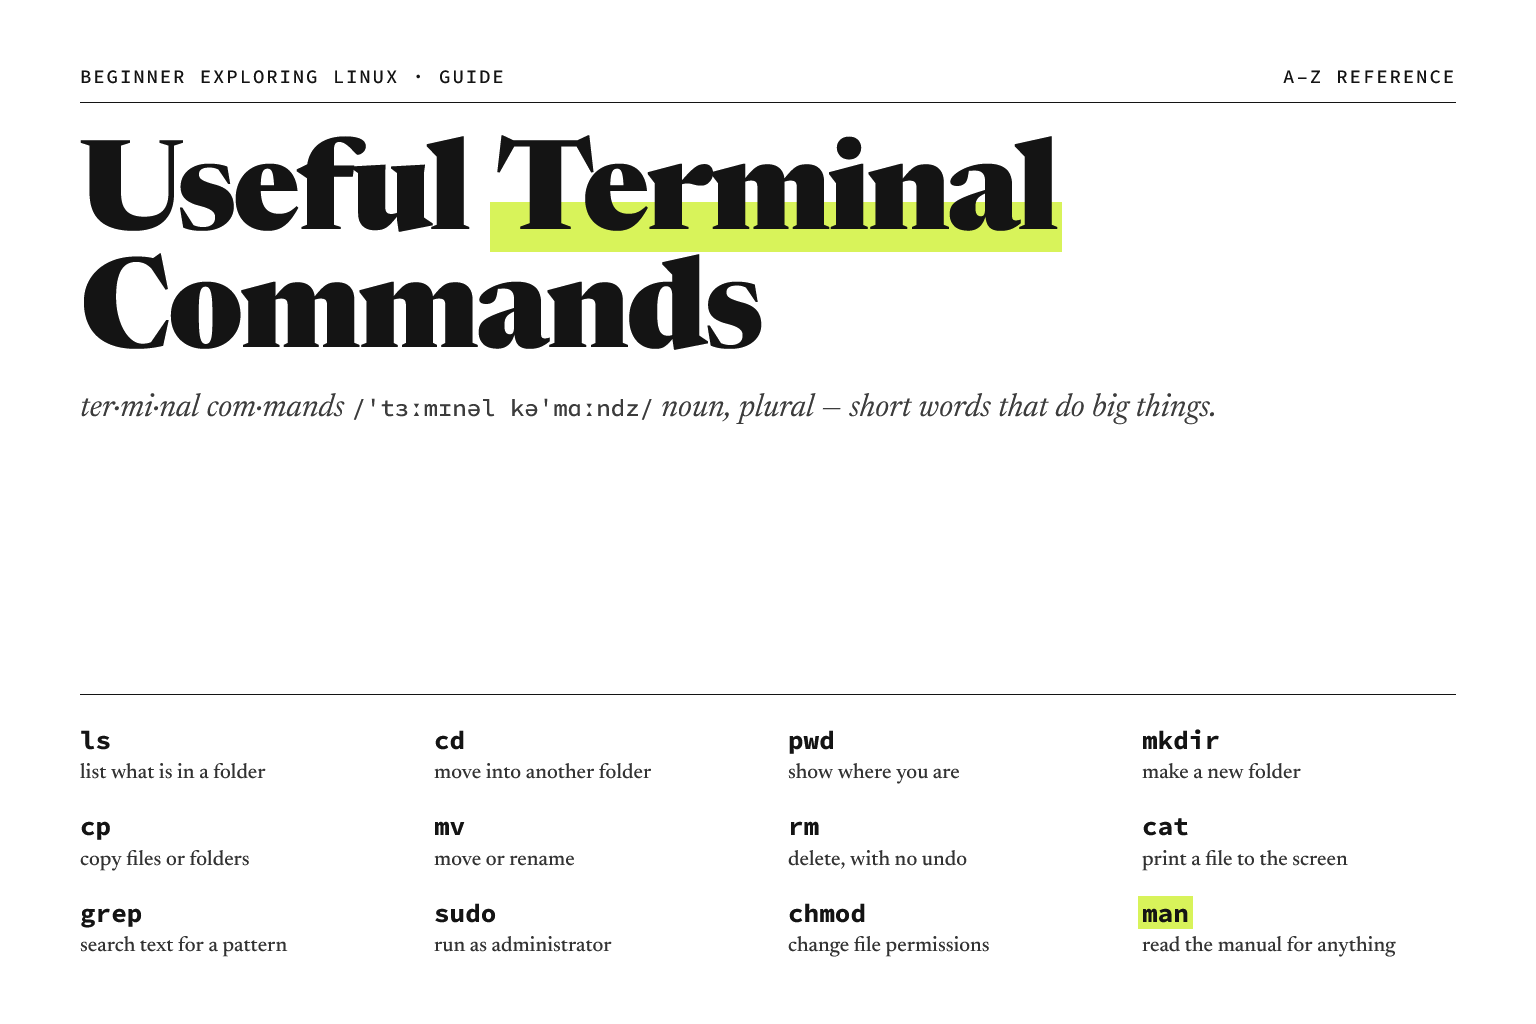
Useful Terminal Commands
Linux
25 January 2026
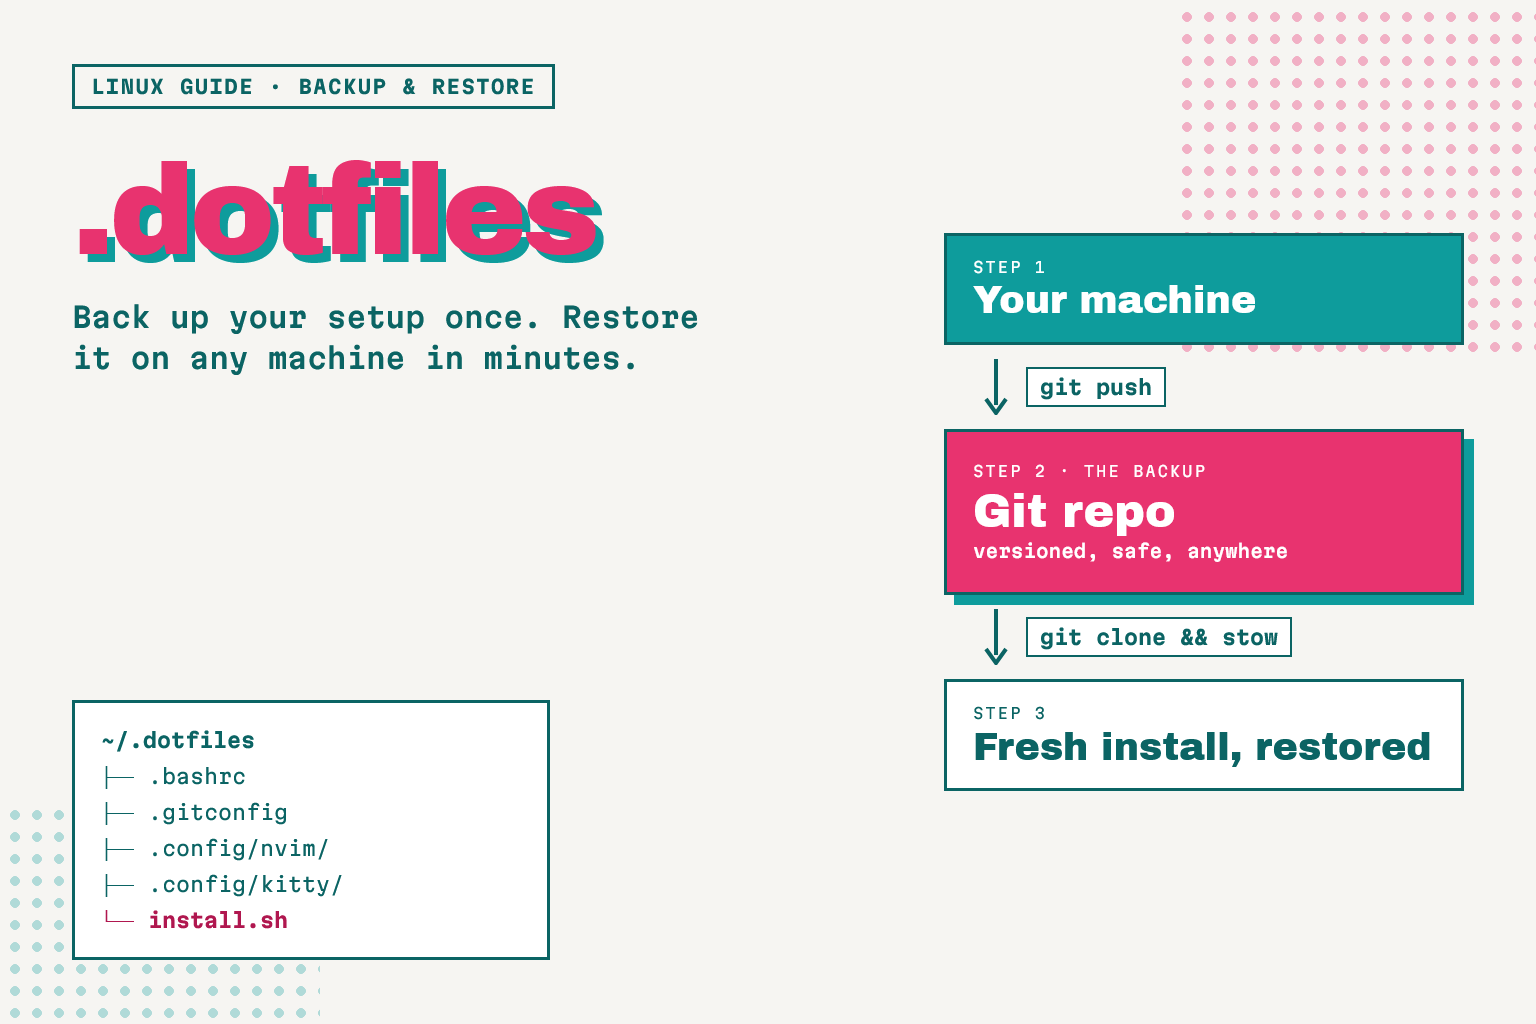
Managing Dotfiles
Linux
23 January 2026
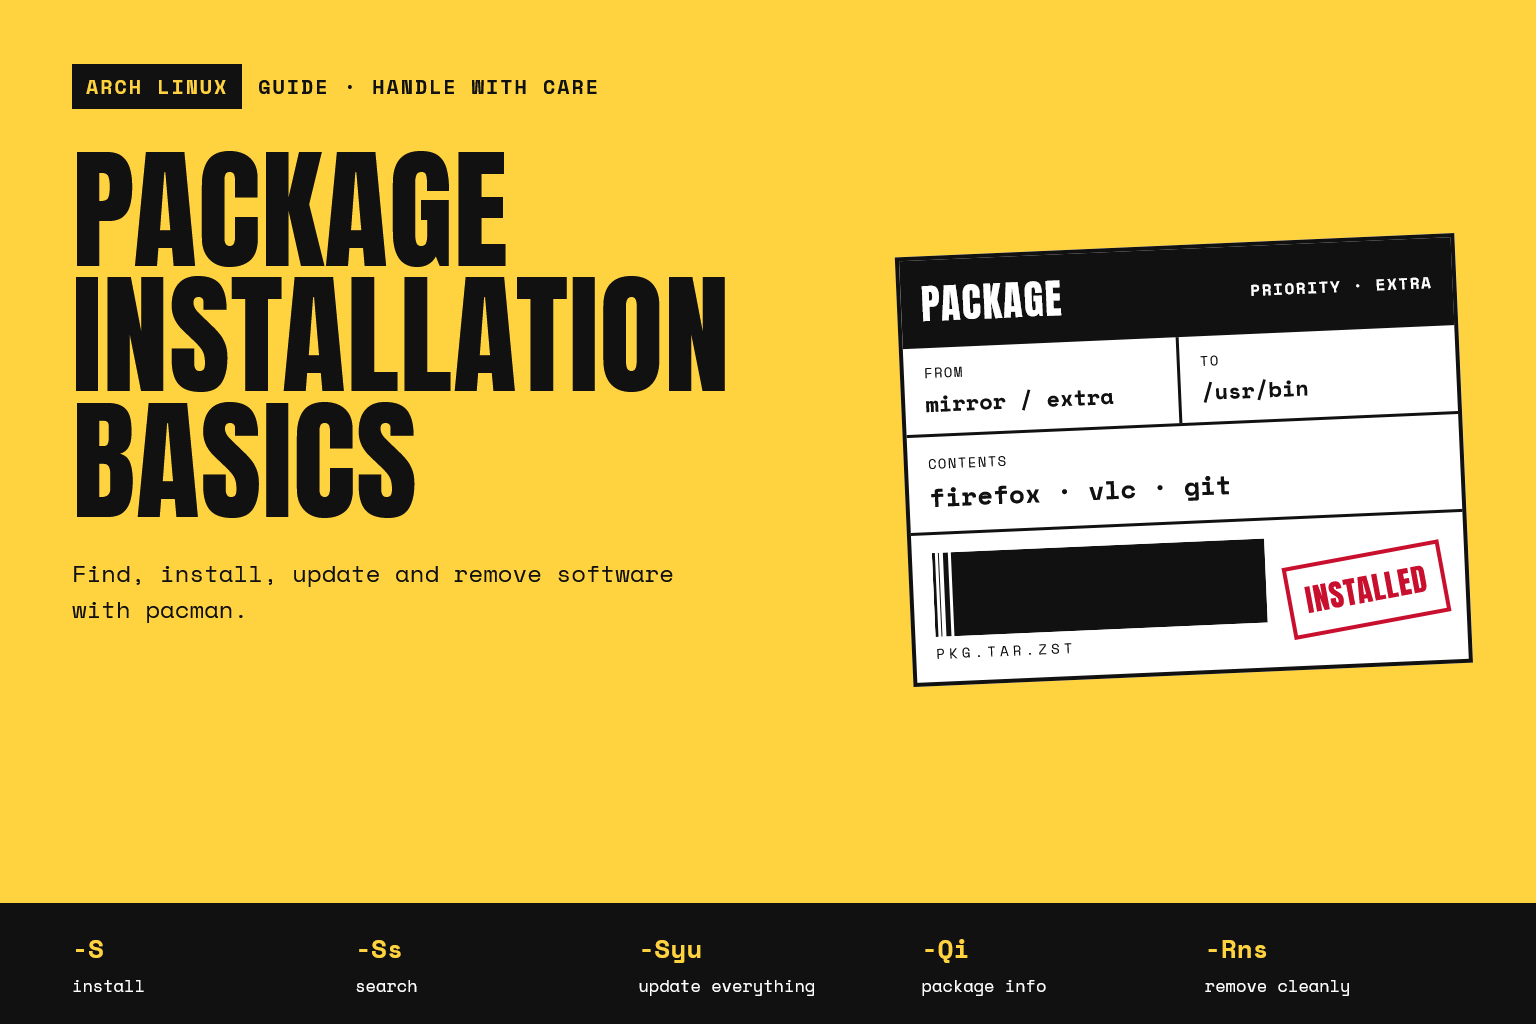
Arch Package Installation Basics
Linux
21 January 2026