Linux
08 March 2026
Arch Linux Install Guide
30 March 2025

Author
Senka WolfTable of Contents
Arch-based Distributions
This is a list of OS distributions which are derived from Arch Linux either in whole or in part. The version you use is down to preference, taste in distros and use case.
In alphabetical order.
- Arch Linux
- CachyOS
- EndeavourOS
- Garuda Linux - Targeted towards gaming however does bring a lot of bloat and not recommended for low end computers.
- Manjaro
- XeroLinux - Simplifies installation process and offers pre-configured environments that serve as an elegant but functional starting point for users.
Arch Linux Install Process
Now we will be going through the install process of Arch Linux, you should be in a CLI Environment to be able to follow the steps below.
Tip: To increase the font size type the command setfont ter-132n.
To change it back to the default type setfont.
If you want to clear the console screen you can by pressing Ctrl + L this can help declutter the console to make it easier to follow along.
- Connecting to the internet.
- If you are using an ethernet cable you can use the ping command to check the connection. Type
ping google.comand you should see a ping return.- To stop the pings press Ctrl + C.
- If you are using Wi-Fi then you will need to use iwctl to connect to the internet. Type
iwctlto enter the iwd shell.- Then type
device listto see a list of network interfaces. - Look for
wlan0then typedevice wlan0 showto see more information. - Then type
station wlan0 get-networksto see a list of Wi-Fi networks. - Then type
station wlan0 connect [name of Wi-Fi network]replace [] with the name of your Wi-Fi network. - It will then ask for your Wi-Fi password.
- Now exit the iwd shell by typing
exit. - Try using ping command to check the connection by typing
ping google.com.- To stop the pings press Ctrl + C.
- Then type
- If you are using an ethernet cable you can use the ping command to check the connection. Type
- Syncing system packages and updating.
- Type
pacman -Syto sync and upgrade system packages.
- Type
- Formatting Disk
- Now type
lsblkto show a list of all the connected drives to the computer. - If you're unsure what drive you need to use, you can type
fdisk -lto see more information. - Make sure you are careful as it's important you format the correct drive otherwise you could lose important data.
- If you are using a virtual machine then the drive will most likely be named
sda.
- If you are using a virtual machine then the drive will most likely be named
- Once you have confirmed the correct drive (I'm using sda in this instance) run the command
gdisk /dev/[drive name]e.g.gdisk /dev/sdato enter the gdisk tool. - Once in gdisk press x to enter expert mode.
- Then press z to erase the drive.
- Follow the prompts by typing y to finish the process.
- Now in my case the
sdadrive should be free of any partitions and files.
- Now type
- Install Script
- Now type the command
pacman -Sy archlinux-keyringwhich contains the public keys used to verify the authenticity and integrity of Arch Linux packages ensuring they come from trusted sources.- Make sure you press y for any prompts.
- Now type
pacman -Sy archinstallto setup the arch install script.- Make sure you press y for any prompts.
- Now type
archinstall.- Use the arrow keys to navigate through the options.
- Set the system language.
- Go into Locales and set the options which best suit you, for me I will configure it for the United Kingdom.
- Keyboard layout: uk
- Locale language: en_GB
- Select Disk Configuration
- Select Partitioning
- Select Use a best-effort default partition layout
- Select the drive where you want to install Arch Linux, the one we identified earlier. So in my case
/dev/sda. - Select the
btrfsfilesystem. - Select yes to would you like to use BTRFS subvolumes with a default structure.
- Select Use compression.
- Then go back to the main menu.
- Select Bootloader
- Make sure Grub is selected.
- Select Root password and set a secure password.
- Select User account
- Select Add a user (Username must be all lowercase and say yes to being a superuser(sudo)).
- Confirm and exit.
- Select Profile
- Select Type
- Select Desktop
- Now select the type of desktop environment you want:
- KDE Plasma - Best UI
- Xfce - Nice compromise between looks and performance, particularly if you have an older computer.
- Select Graphics Driver
- Pick the driver which suits your computer hardware configuration.
- NVIDIA - Select the Nvidia (proprietary) option.
- Virtual Machine - If you're using a virtual machine then select VMware / VirtualBox (open-source).
- Then go back to the main menu.
- Audio
- Then select the option pipewire.
- Additional packages
- Here you can specify a list of tools to be installed separated by spaces. Below is a list of some packages:
htop fastfetch neofetch git curl wget base-devel
- Network configuration
- Select NetworkManager
- Timezone
- Set this to your timezone, in my case it would be
Europe/London
- Set this to your timezone, in my case it would be
- Finally you are ready to press install, this may take a few minutes.
- Once the installation has been completed you will get a prompt saying would you like to chroot into the newly created installation and perform post-installation configuration.
- Select yes.
- Now type the command
chroot Environment
Now we are in the chroot environment where we can install useful tools before booting into the desktop environment. These tools are optional, the tools are separated by spaces in the below command.
$ pacman -Sy enchant mythes-en ttf-liberation hunspell-en_GB ttf-bitstream-vera adobe-source-sans-pro-fonts gst-plugins-good ttf-droid ttf-dejavu aspell-en icedtea-web gst-libav ttf-ubuntu-font-family ttf-anonymous-pro jre8-openjdk languagetool libmythes firefox libreoffice-fresh vlc
$ exit          #To exit the chroot environment
$ shutdown now  #Powers off your computer or virtual machine
Important: If you installed Arch Linux onto bare metal remove the bootable USB and turn on the computer.
Fix Discover app backend
The Discover application helps you find and install applications, games, and tools from multiple sources. If you try to launch the application you will get an error saying that Arch Linux is not configured for installing apps through Discover.
To fix this we need to install Flatpak and use it as a backend for Discover.
$ sudo pacman -Sy
$ sudo pacman -Sy flatpak
Tweaks and Improvements
Configure pacman Wiki
Here we are going to improve the visuals of pacman.
$ sudo nano /etc/pacman.conf #Opens the file pacman.conf- Scroll down the file until you see a line
#Colorand remove the hashtag. - Add a new line under
Colorand typeILoveCandy. - Press Ctrl + O to save the file.
- Press Ctrl + X to close the nano editor.
$ sudo pacman -Syu #Make the changes take effect.Optional: If you have a good computer and internet connection then remove the hashtag in front of ParallelDownloads = 5 so pacman will download several packages simultaneously.
Make bash colorful
Here we will make the terminal more colourful, this involves downloading a premade colour scheme.
Note: This terminal colour scheme was made by Average Linux User.
- Download Linux_terminal_color.zip.
$ sudo pacman -S unzip                      #Installs unzip
$ cd Downloads/                             #Move into downloads folder
$ unzip Linux_terminal_color.zip            #Unzip the file you downloaded earlier
$ sudo mv bash.bashrc /etc/bash.bashrc
$ sudo mv DIR_COLORS /etc/
$ mv .bashrc ~/.bashrc- Close and reopen Konsole.
Automatic package cache cleaning Wiki
Downloading package updates can take up a large amount of space over time, this will automatically clear the cache for you. The below instructions will clear the cache weekly but leave 3 of the most recent versions of each package in case you need to downgrade anything.
$ sudo pacman -S pacman-contrib
$ sudo systemctl enable paccache.timer
Installing AUR Helper Wiki
The Arch User Repository (AUR) is a community-driven repository of packages. If a package isn't in the official Arch repository it is most likely found in the AUR.
$ sudo pacman -S --needed base-devel git
$ mkdir Programs
$ cd Programs/
$ git clone https://aur.archlinux.org/yay.git
$ cd yay/
$ makepkg -si
Create user folders Wiki
By default you don't get the common folders like pictures, videos etc like you do in Windows. Here is an easy way to create them without having to do it manually.
$ sudo pacman -S xdg-user-dirs
$ xdg-user-dirs-update
Install microcode Wiki
Microcode is an essential part of our CPU's functionality so it's important that it's secure and up to date. Make sure you install the packages based on if you have an AMD or Intel CPU.
$ sudo pacman -S amd-ucode      #AMD CPU
$ sudo pacman -S intel-ucode    #Intel CPU
Disable GRUB delay
To speed up your boot process you can disable the GRUB screen and boot into Arch Linux right away.
Tip: If you need the GRUB screen you can get to it by holding ESC key whilst booting your virtual machine or computer.
$ sudo nano /etc/default/grub #Open the GRUB config file- Scroll down the file to the line
GRUB_TIMEOUT_STYLE=menu. - Edit where it says
menutohiddenGRUB_TIMEOUT_STYLE=hidden. - Press Ctrl + O to save.
- Press Ctrl + X to exit.
$ sudo grub-mkconfig -o /boot/grub/grub.cfg     #Update the grub config
$ sudo reboot now                               #Restarts your computer or virtual machine
Set up firewall Wiki
Almost all Linux distributions come with an inactive firewall. The Linux kernel has a built-in firewall and technically all Linux distros have this but it is not configured and activated. Linux is still secure even without an active firewall. By default, most of the distributions have no open ports. It is better to be safe than sorry to add a firewall. A firewall does use some system resources, but not enough to make an impact and it adds an extra layer of security making it worthwhile.
Warning: Note that this will not work if
iptables.service is also enabled.$ sudo pacman -S ufw # To install ufw
$ sudo ufw enable # Enable ufw
$ sudo ufw status verbose # To check its status to make sure it's active.
$ sudo systemctl enable ufw.service # To make it auto start with the system.Themes
My Setup
My setup uses the Vivid Dark Global 6 theme. As for Widgets AKA Plasmoids, it uses Apdatifier, Netspeed, Quick Shutdown and Toggle Overview.
Other Themes
Guides
Caution: All links here unless specified are NOT affiliated with me.
Miscellaneous
Related Articles
All guides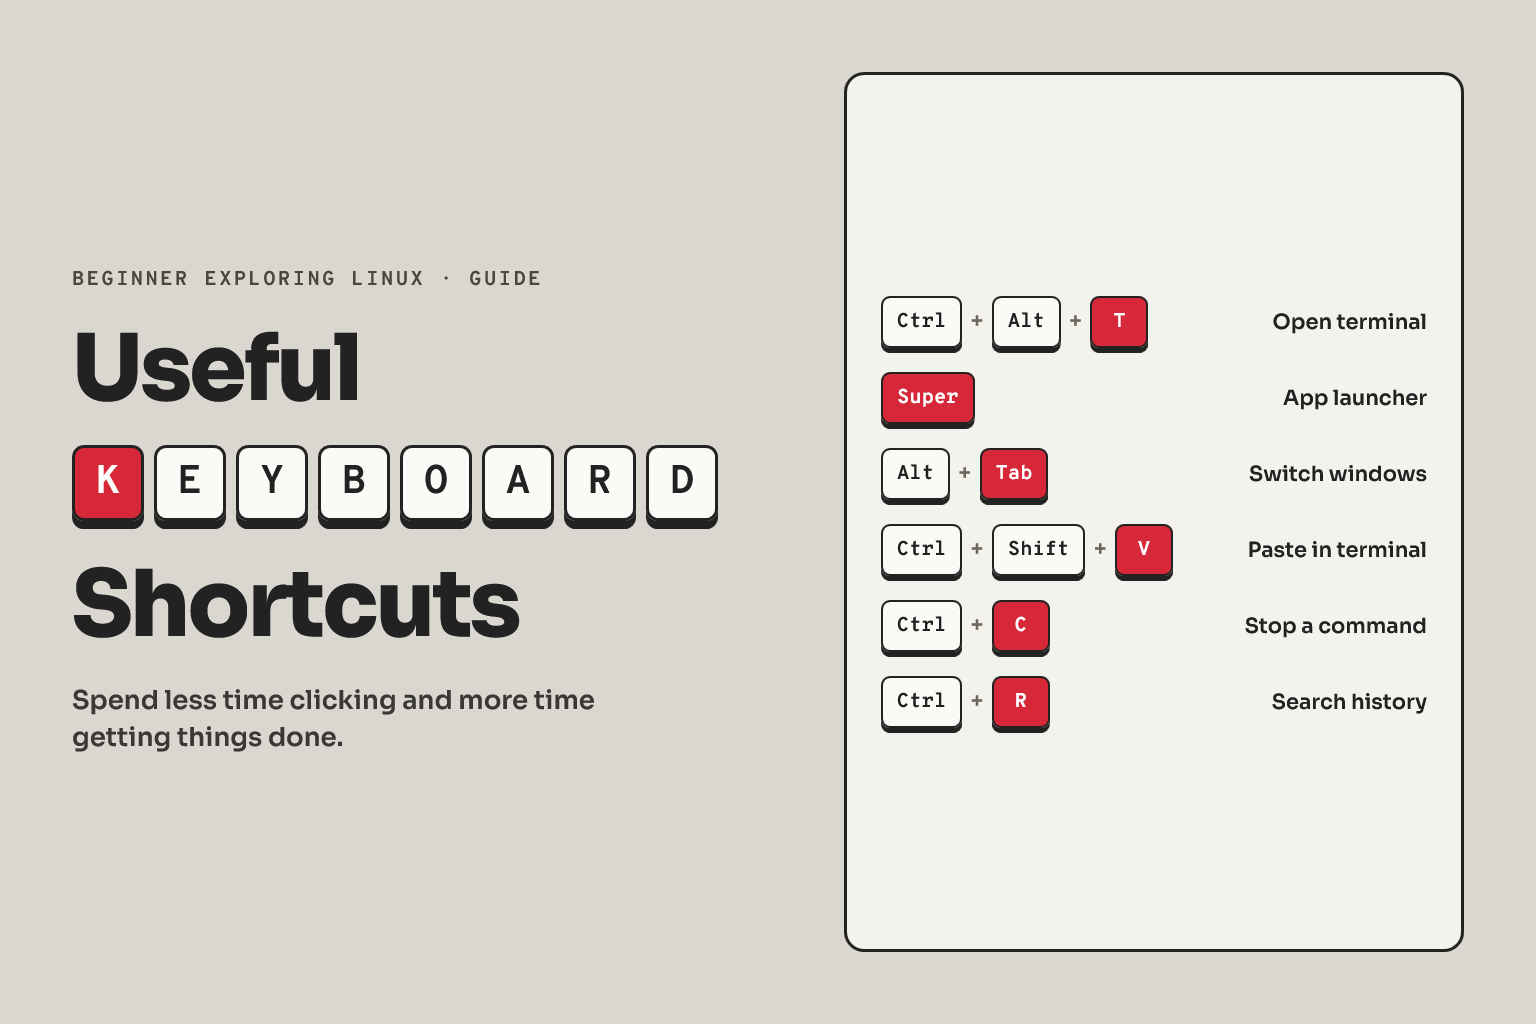
Linux
04 February 2026
Useful Keyboard Shortcuts
Linux
02 February 2026
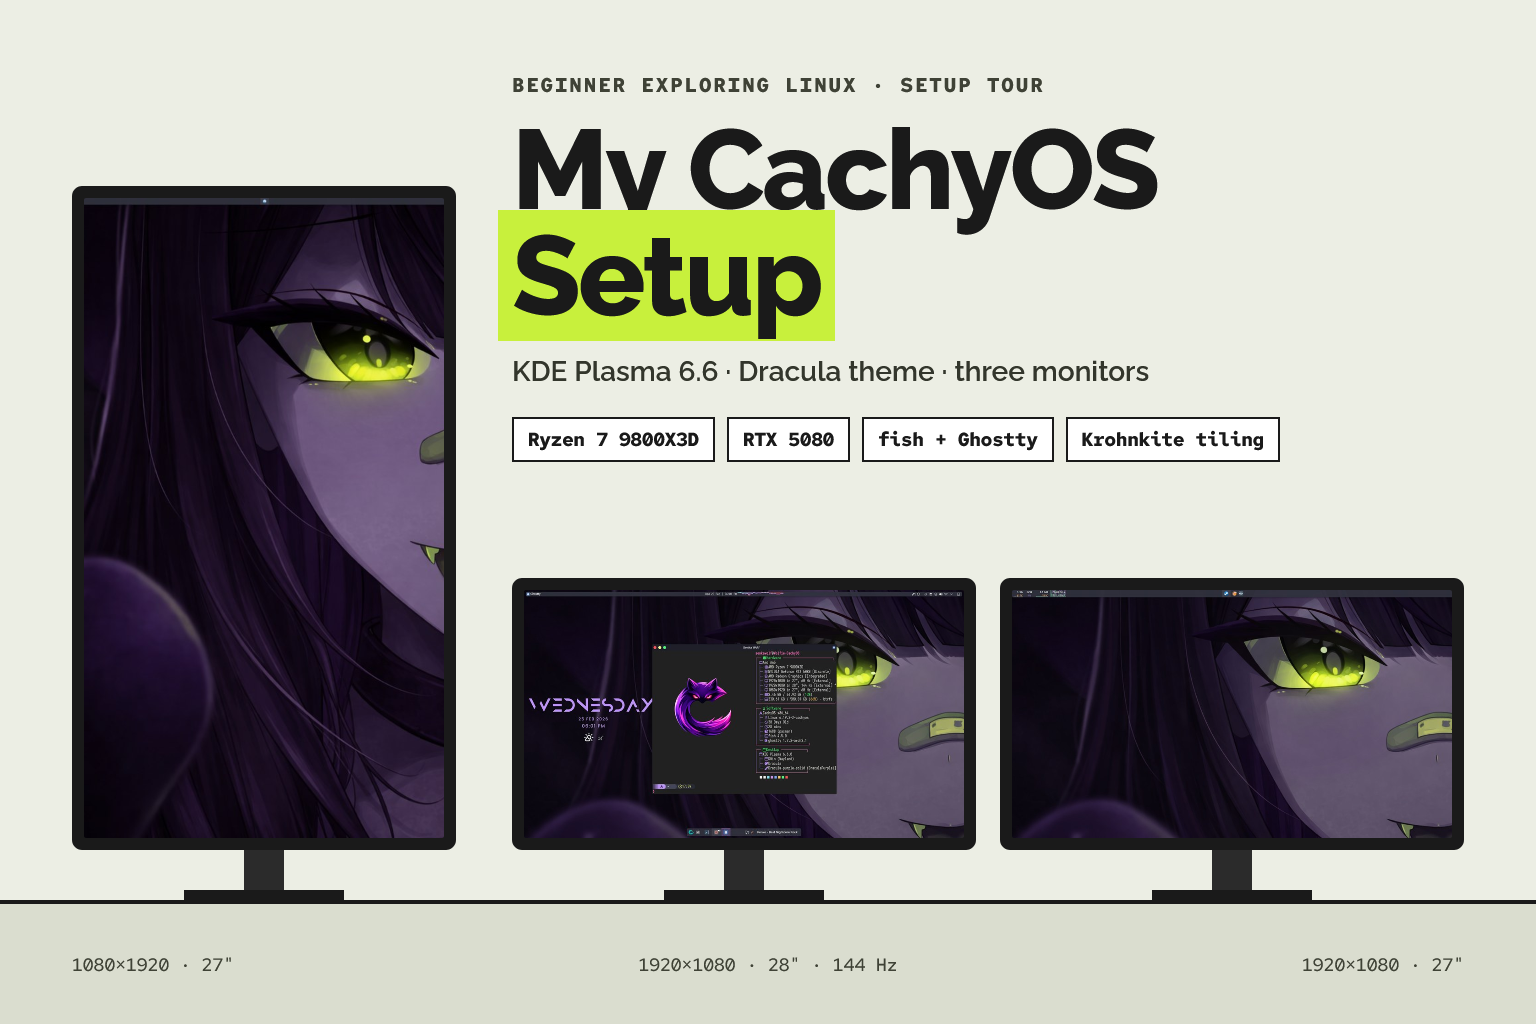
Senka's CachyOS Plasma KDE Setup
Linux
02 February 2026
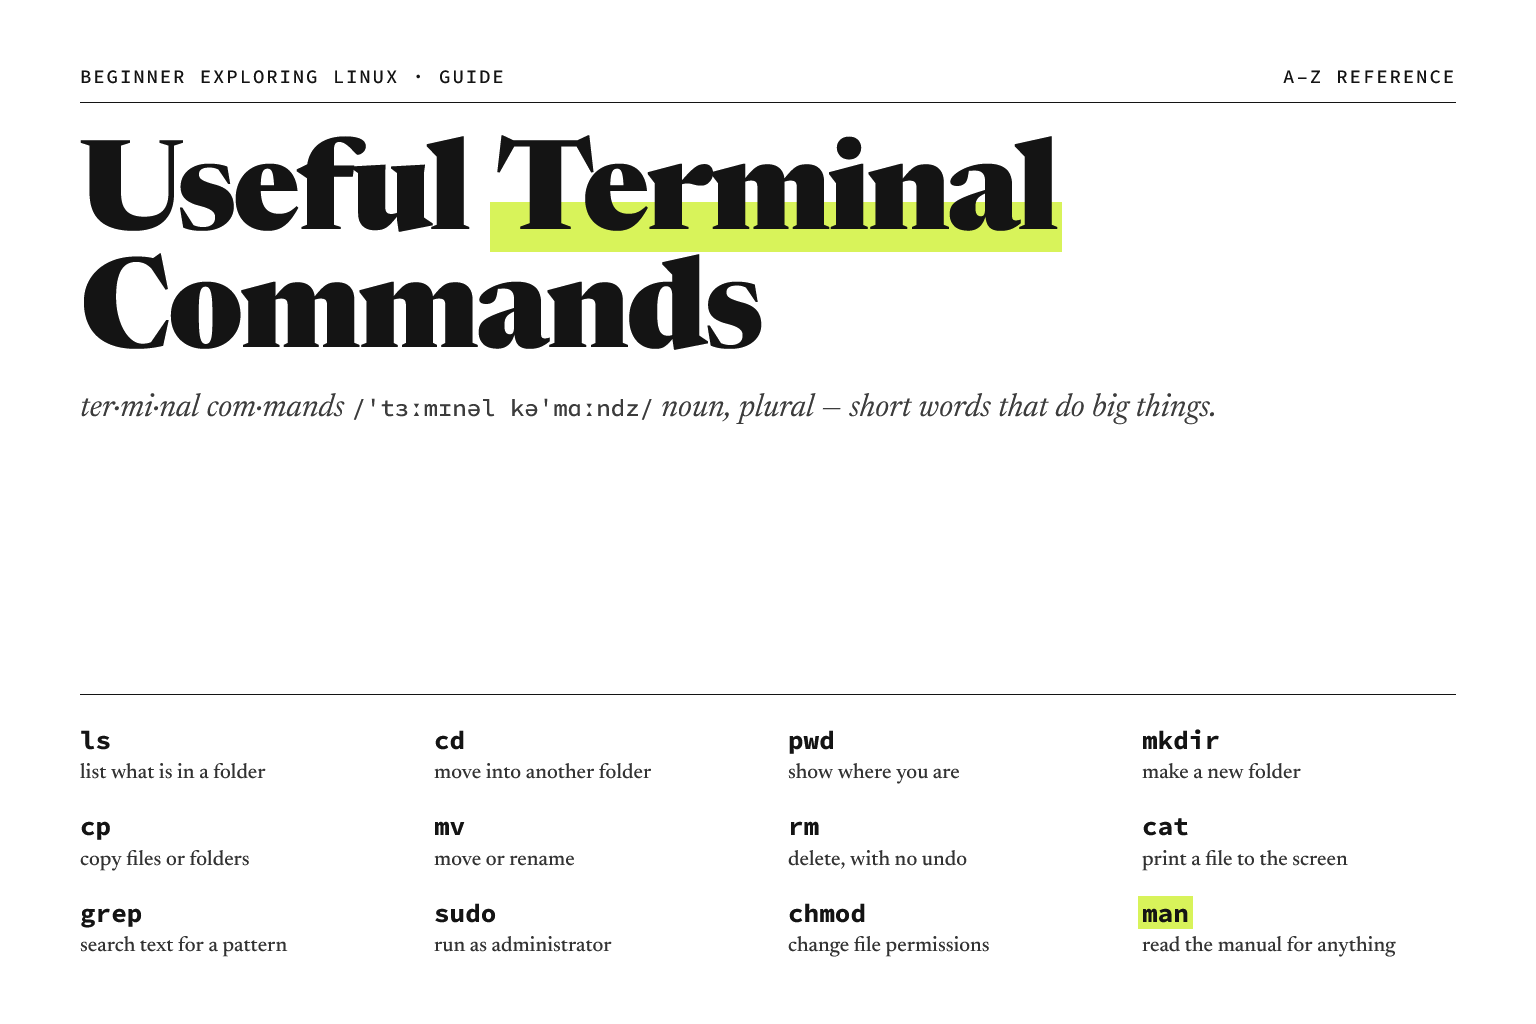
Useful Terminal Commands
Linux
25 January 2026
Managing Dotfiles
Linux
23 January 2026